Skip to Main Content
Back to Navigation

How to Hang Wallpaper Like the Pros

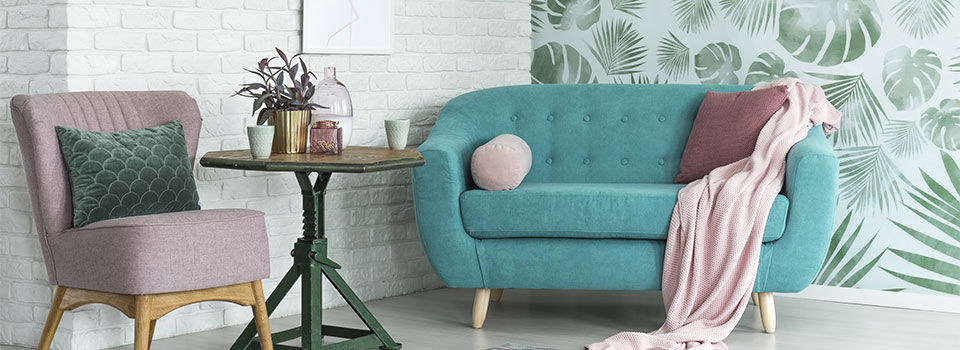
Pink chair and blue sofa with tropical leaf wallpaper and a white brick wall in the background

Wallpaper is more than just an alternative to paint. It’s a quick way to get a bold graphic or patterned look on a wall while covering up most stains and marks. For adding a mural or getting a traditional look from days gone by, nothing beats this interior decorating trick. However, wallpaper does take a little patience and a lot of practice to get right. If you wallpaper an entire room, you’ll find yourself comfortable with the process by the third or fourth wall. This means that doing more than one part of the home can work out well once you’re warmed up. Just don’t rush yourself since quite a bit of planning and attention goes into wallpaper installation. With this basic breakdown of the steps, you’ll be ready to cover the walls like a pro.

Prepare the Wall Surface

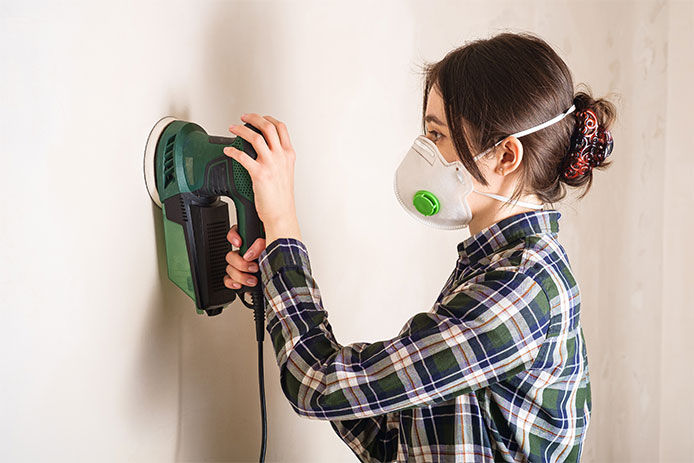
Woman in protective mask working with electric sander to smooth plaster wall surface, room renovation concept

Get the walls that will be wallpapered as smooth and even as possible. While opaque wallpapers are good at hiding color, stain, and marks, all wallpapers tend to telegraph physical discrepancies below the surface. If the wall is textured and it’s impossible to smooth it completely, a darker, more patterned design can help camouflage the effect. Apply a coat of wallpaper primer and sizing to ensure that the paste has a good surface to grip to prevent peeling. Make sure the drywall has at least one layer of primer or paint over it first to ensure a good bond as well. Remove switch and outlet covers for easier application.

Cut the Wallpaper and Plan the Pattern

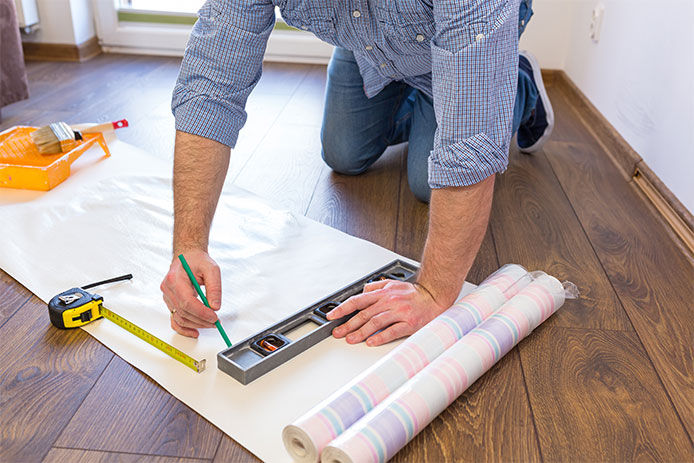
Handyman measuring wallpaper to cut

Wallpaper comes in big rolls, but it needs to be cut into strips anywhere from 8 to 24 inches in width for hanging. This depends on the pattern and will be listed or marked on the wallpaper itself. Pick the focal wall opposite the entryway to the room to center the pattern. Then run the seams where the pattern is interrupted into the corners farthest from the door. This makes the design look as seamless and attractive as possible without requiring extra work.

Start Hanging from the Center

Glueing wallpapers at home. Young man, worker is putting up wallpapers on the wall. Home renovation concept

Once you’ve determined the general layout of the pattern throughout the room, find the center point of the focal wall where you’ll start hanging the paper. Use a measuring tape to find the vertical centerline, then do the same for the horizontal center. Align with these marks to ensure the pattern spreads from the middle of the wall and doesn’t start from one end and abruptly end at the corner’s seam. Don’t overlap the paper until you reach the corners, where you should overlap materials by about ¼ inch, taking care to line up the pattern. Leave extra material at the top and bottom of the paper by 2 to 3 inches on both ends to ensure even cover where walls and ceilings are slightly off level.

Applying Paste and Booking

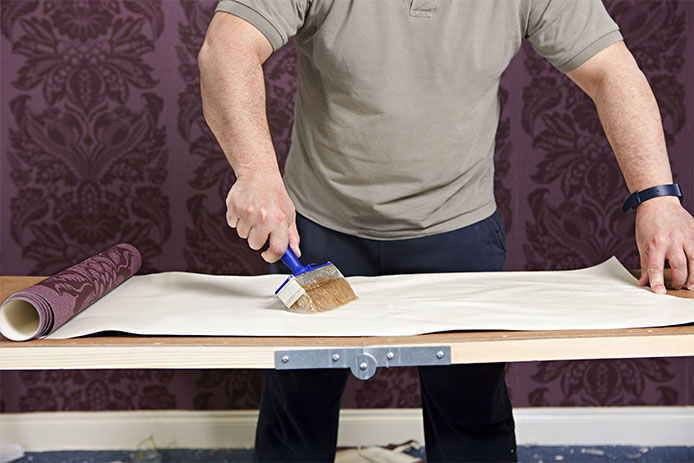
An older man using a 3" glue brush to apply wallpaper glue to the back of a strip of wallpaper

Pre-pasted wallpaper only needs wetting in a pan or tray, and then it’s ready for applying. Peel and stick is even less work to prep. However, traditional paper and the matching paste recommended by the manufacturer will result in the tightest bond and best coverage of previous wall damage. Applying the paste to paper requires a process known as booking, which sounds tricky but is easy enough with practice.

First, ensure you have a large and clean work table in the room where you are applying the wallpaper. Lay out a single strip of the wallpaper pattern side down. Apply an even but thin coating of the paste over the back of the paper with a roller. Gently bring the two ends of the paper together until the paper is folded in half, but take care not to crease the folded end. Larger pieces can be folded in thirds instead; be sure you’re not pressing the adhesive to the patterned side of the paper. Let the paper stand for 2 to 3 minutes to absorb the adhesive, then unfold and apply to the wall.

Smooth and Trim the Paper

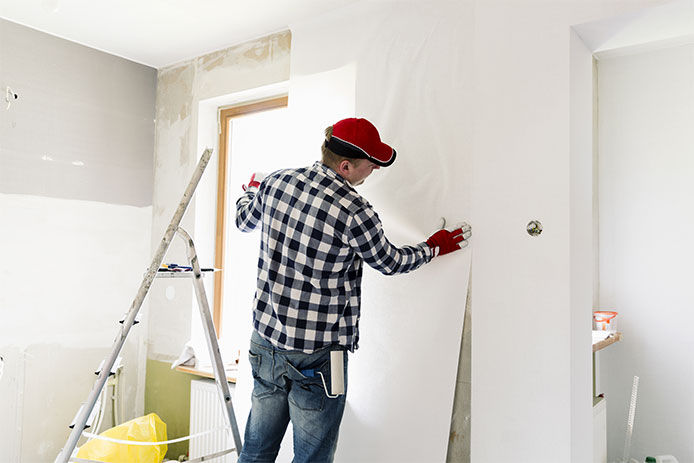
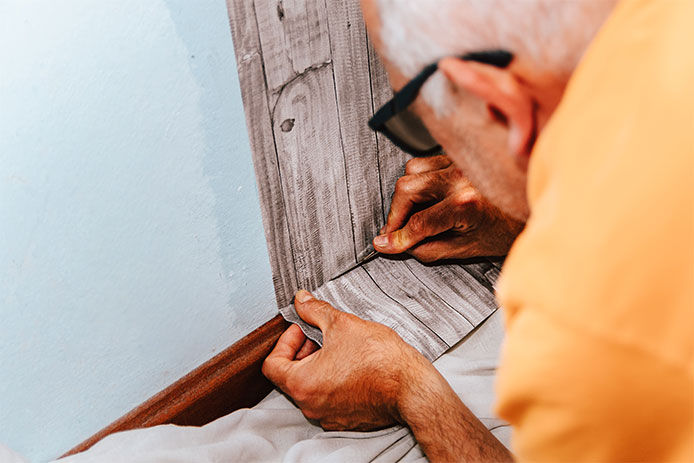
Wallpapering. A man glues gray vinyl wallpaper on a non-woven backing. Renovation of the room. Hang wallpaper. Home repairs

Using a plastic paper smoothing tool is the key to getting out bubbles, dealing with wrinkles, and helping seams disappear. Find any blemishes in the smooth paper and work them slowly towards the nearest seam with the tool, using steady pressure and even strokes to avoid tearing or marking the surface. Smooth each panel as you apply it, which should squeeze out a small amount of excess paste around the edges. Use a lightly damp rag to wipe away that adhesive as you work to ensure it doesn’t spread or dry to make a hard-to-remove mess. After all the panels are in placed and smoothed down, trim the excess paper off at the top and bottoms with a utility knife and a metal paint knife as a straight edge for a clean look.

It’s best to start with a single accent wall or even a small area to practice your skills before committing to an entire room. Or try buying a piece of drywall and practicing on it until you’re confident in your ability to get a smooth application and properly aligned patterns. Wallpaper can become a quick way to change your walls once you get the hang of it.

Read next


While do-it-yourself projects can be fun and fulfilling, there is always a potential for personal injury or property damage. We strongly suggest that any project beyond your abilities be left to licensed professionals such as electricians, plumbers, and carpenters. Any action you take upon the information on this website is strictly at your own risk, and we assume no responsibility or liability for the contents of this article.